Our Blog
[INSTALL VIDEO] THE CUERO RACE | CHUPACABRA OFFROAD
![[INSTALL VIDEO] THE CUERO RACE | CHUPACABRA OFFROAD](http://chupacabraoffroad.com/cdn/shop/articles/THE_CUERO_RACE_-_CHUPACABRA_OFFROAD_{width}x.jpg?v=1636544117)
Interested in the Chupacabra Offroad Cuero Race Side Mirror? Take a quick look at how to install these mirrors perfectly to your UTV or Off-Road Vehicle!
Transcription:
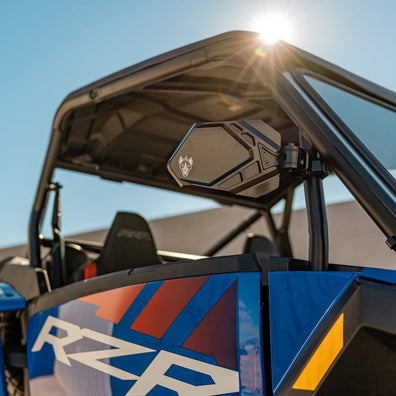
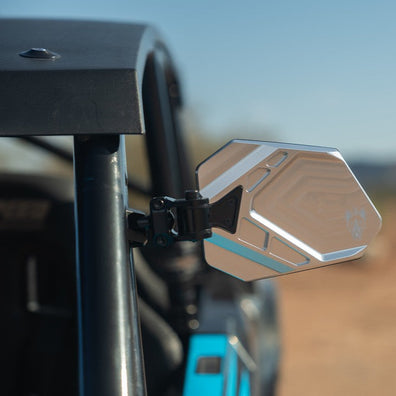
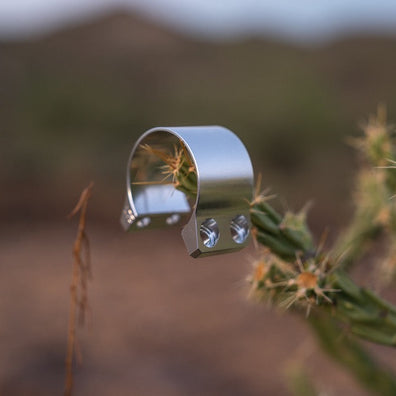
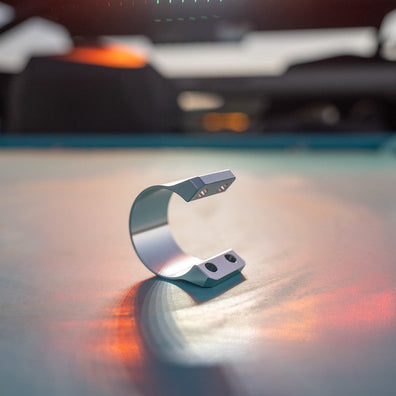
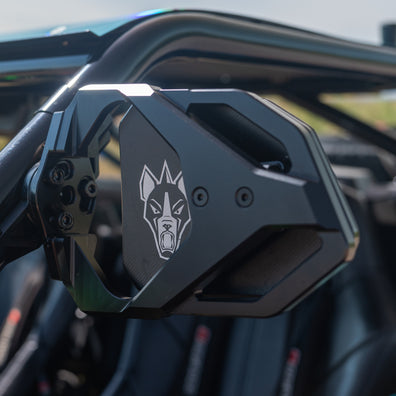
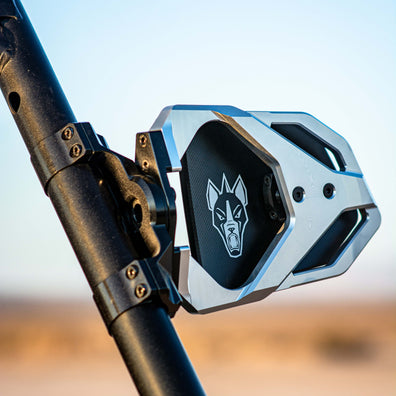
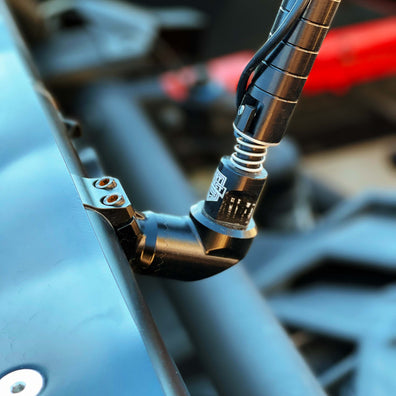
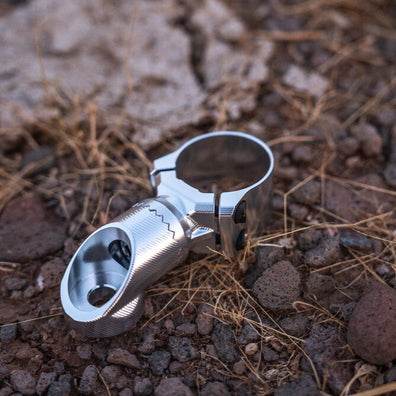
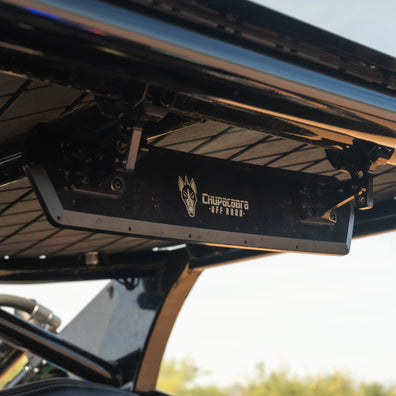
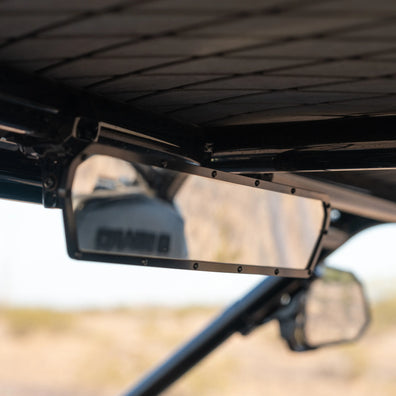
Hi this is nick olson from chupacabra offroad and today we're going to be doing an unboxing and installation video of our quarrel race side mirrors now these mirrors are race inspired tested and approved by some of the fastest utv racers in the world the race inspired design protects your mirrors from trees branches and debris and also allows the installation of an led pod light which you can adjust independently of the mirrors themselves our proprietary clamp design clears most windshields and window nets and our patent-pending 360 degree adjustable mount ensures these will work on any side-by-side or off-road vehicle let's see what's inside the box and get these installed once you open the box you're going to see some instructions stickers mounting hardware clamps along with some tools to complete the installation so before you install double check and make sure you have the correct size we labeled each of the clamps for your convenience to make sure you've got the proper fit for your vehicle once you pull the driver side mirror out of the box go ahead and use a supplied six millimeter allen key to remove the three screws that detach the mirror frame from the mounting center section you'll want to determine which way you'd like the center section to face the rearward position rotates the clamps to clear most windshields while the frontward position rotates the clamps to clear window nets if you are using a plus or b pillar once you decide how you want them placed take the two tube clamps and begin installing them onto your roll cage most of you will be installing these on a standard a pillar so we recommend the rearward position for the cleaner look and ultimate adjustability you will then take the eight supplied screws and secure the center section and tube clamps into a position that's close to your final mounting location get the screws just snug enough to hold the mirror in place but still loose enough to allow for final adjustments at the end now take your mirror and mirror frame and install them back onto the center section there are six holes available so select the three which match up to the orientation you prefer you'll notice that each setting has some rotational adjustment options as well once you've selected your preference make sure these three screws are snug enough to hold but loose enough to allow for some final adjustments now it's time to sit in the vehicle and adjust them to your desired viewpoint for your final adjustment move the mirror on the frame to your liking then use a four millimeter allen key to secure in place next tighten the three six millimeter allen screws that secure the frame to the center section and finally tighten the eight clamp pinch screws in an even pattern so there's an equal gap on each side of the clamp if you want to install an led light bracket remove the bracket and supplied hardware from its packaging remove the mirror from the frame via the inner four millimeter allen screw next remove the outer four millimeter screw with a 10 millimeter socket on the rear nut with the supplied screws take the shortest screw and place through the light bracket and mirror in the outer setting using a four millimeter allen then the longer screw and mount to the inner setting using a five millimeter allen you have the option of adjusting the angle of the led light bracket to keep your beam pattern optimized if your frame doesn't happen to be perpendicular tighten both screws double check all the screws one last time and make sure everything is secure before your first ride these brackets are designed for small led lights like the baja design squadron which are about 12 to 14 ounces each various brands of lights will melt properly with our mirrors but we do not recommend any lights above 14 ounces in weight or larger than 3 inches in width and depth repeat this process on the passenger side and you are ready to rip if you have any additional questions feel free to visit our website chupacabraoffroad.com














LEAVE A COMMENT